Initiative
Mongols 13 (original 9), Kharizmians 10 (original 5). Mongols elect to move second.
The Khwarizmian SkC (Unit 1), advances to give some manoeuvring space for the troops coming over the Pass. The Levy SI (Unit 2) carries on its advance in march column with Abd Ad-Dill. Just behind them the Bodyguard BC (Unit 3) arrives on the field.
Out of sight the Mongols adjust their position slightly. On the left hand hill, Snoopy Bahadur’s 2iC, Temuge, watches the approaching enemy and prepares to spring the ambush.

Move 2
Initiative Mongols 13, Khwarizmians 9. Mongols elect to move second again.
Khwarizmian 1 automatically spots the advancing Mongol Unit A and rolls to react. The random result was Continue with Original Order –which was to scout ahead of the main force. The infantry 2 moves onto the flat ground but cannot deploy yet. Abd Ad-Dill’s Bodyguard moves down the pass.
Mongol A advances and fires at Khwazmian 1 –no effect.

Move 3
Initiative Mongols 10, Khwarizmians 11. Khwarizmians elect to move second.
Mongol Unit A advances to within Close Range of Khwarizmian Unit 1 and fires -no effect. The other Mongol units change formation in preparation for an advance.
Khwarizmain 1 can’t move as it is out of Abd Ad-Dill’s command radius, 2 continues its tentative advance while 3 advances away from the pass and redeploys. The new unit 4, another SkC arrives. 1 fires at Mongol A, again no effect.

Move 4
Initiative Mongols 12, Khwarizmians 8. Mongols elect to move first.
Mongol A initialises a Feigned Retreat Even though Khwarizmian 1 is made of steppe nomads it fails its Competency Roll and gallops off in wild pursuit. B and C move up ready to attack any exposed flanks of Khwarizmian 1. Because of the intervening troops and terrain, the Khwarizmians cannot see any of the Mongol flank movements. Mongol A fires at Khwarizmian 1 and one Base is lost. In the Mongol rear, Snoopy Khan watches intently.
Khwarizmian A is caught up in Feigned Retreat, 2 continues its advance. C forms up alongside B after seeing A inexplicably galloping off. D moves up behind B and Abd Ad-Dill move towards the protection of the remainder of his force. Unit 1 fires ineffectually against Mongol A.

Move 5
Initiative Mongols 13, Khwazmians 10. Mongols decide to move first.
Mongol A disappears over the hill chased by Khwarizmian 1. As they ride past B charges out of concealment into the flank and rear of Khwarizmian 1 and destroys it. C advances, opening formation as it does so.
The Khwarizmian leading units can now see Mongol C as they break cover and B as it rides over their advance guard unit. 2 shakes itself out into a defensive line while 3 moves up onto the right flank. 4 holds its position because it failed its Competency Roll.

Move 6
Initiative Mongols 14, Kharizmians 8. Mongols move second.
Not one of the remaining Khwarizmian units manages to make its Competency Roll so there is no movement. Abd Ad-Dill is beginning to get a little concerned.
Mongol A passes its Competency Roll and halts its Retreat to reform its order. B turns to face the Khwarizmians while C moves slowly up the table towards the left flank of Khwarizmian 2.

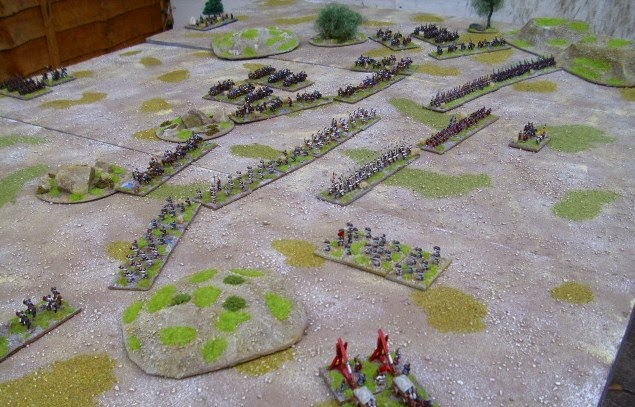
As this was just a quick playtest to see if the Feigned Retreat Rule worked -and it did- so I stopped the game at that point.
But here are a few pictures of the troops used.


Some of you may have been wondering about the character Snoopy Bahadur mentioned above and how 'Snoopy' is not really a Mongolian name...well, here he is watching the battle with the reserve from back near the village.


